The Root Harvest

Harvesting Dandelion root
It’s root season all! And in my humble opinion we need their grounding presence now more than ever. Prepping freshly harvested roots for processing, whether for medicine-making or drying, is time-consuming and hard work but totally worth it! As a teacher I’ve learned that knowing the best method for this can be a stumbling block for lots of beginner herbalists and can hold them back from harvesting so I wanted to share some of what I’ve learned over the years.
But before we get into that please be sure that you’re only harvesting roots from abundant, weedy plants and never from at-risk species. If you’re not sure which medicinals are at-risk check-out the United Plant Savers “at-risk” and “to-watch” list of medicinal herbs (and consider joining this fabulous organization while you’re there!).
Harvesting Roots
The best seasons for harvesting roots are the spring, while the plants are still more or less in hibernation mode and haven’t started putting much energy into their leaves and flowers yet, and the falI when the plant’s leaves are dying back and they’re storing-up nutrients and sugars in their roots to get through the winter. I prefer spring-dug roots for waking-up the body (especially organs of elimination like the kidneys and liver) after the more sedentary winter months and feel they are better for making digestive bitters since they’ve generally used-up all their sugars over the winter and tend to be more bitter than fall-dug roots. I prefer fall roots for ferments like my fall kimchi, food as medicine preparations like roasted dandelion roots and pickled evening primrose roots, and winter teas. Roots are very nourishing and grounding and it’s a beautiful gift of the the plants to nourish ourselves with fall roots during the winter, remembering that we’re taking-in the very nutrients the plants stored-up to get them through the winter too. I tend to harvest roots primarily from my garden and some of my favorites are Wild Carrot/Queen Anne’s Lace (Daucus carota), Dandelion (Taraxacum officinale), Burdock (Arcitum lappa) and Evening Primrose (Oneothera biennis). I tend to “let my garden go” in late summer, knowing that in doing so I’m allowing so-called weeds, like the aforementioned herbs, grow so I can harvest them in the fall when I’m doing garden clean-up and my final harvest for the season.
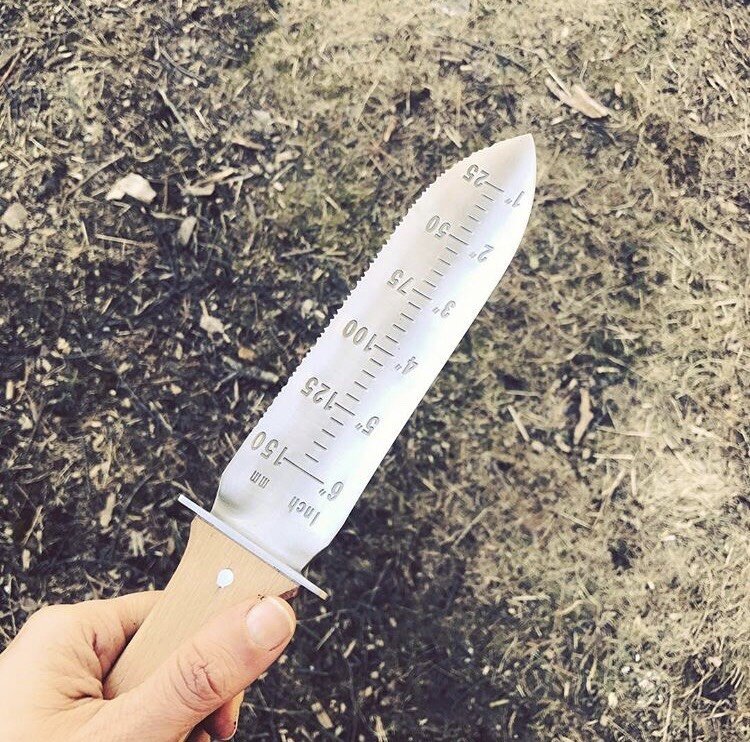
Hori Hori gardening tool
For the harvesting itself, my favorite tool for this is the Japanese gardening tool called a Hori Hori. I feel that using a hand tool rather than a shovel helps bring me more into the moment and be present with the digging, which feels important to me since it’s an act of taking a plant’s life when you’re digging a root. I always fill the hole back in after I’ve dug and leave any leaves I don’t want to bring home there too so it’s not just a patch of exposed soil.
Washing & Prepping Roots for Medicine-Making or Drying
After lots of experimenting and learning from trial and error, this is the method I’ve found best....as you’re harvesting shake off as much dirt as you can right there, putting as much as you can back into the hole, which will also have less of an impact on wherever you’re harvesting. You definitely don’t want the area to be full of holes after you harvest. Once you’re home soak the roots in a bowl of water and swish them around well. The first soak will immediately turn the water quite brown so I always strain that off and then cover them in water again and repeat this process basically as many times as I need to until the water is more or less clear! You’ll see a lot of sediment settling at the bottom of the bowl with each soak and swish and that’s a good thing. Then strain them and while they’re in the strainer give the roots a good spraying down with the sprayer at your sink. Often no further washing is needed at this point, but if any soil is still on them then you may want to take a scrub brush to them. Once they’re clean make your medicine OR proceed to drying them.
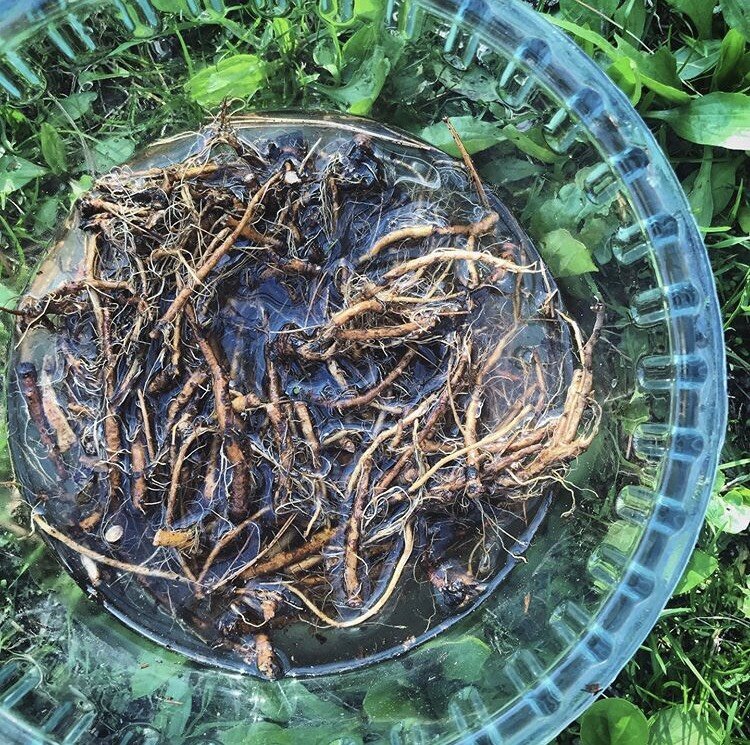
Dandelion roots in the process of being washed
Drying Roots
Start by chopping your roots in preparation for drying- the smaller the pieces are the faster they will dry. Depending on the plant the root can be very hard to chop, even when fresh. For these difficult to chop roots garden clippers can work well for cutting the root into small pieces for drying. Dry these pieces on a wooden cutting board or surface or screen in as warm and dry of a place as possible- you can even put a fan on them for further ventilation. Spread them so they are in a thin layer and not at all in a pile, so that each piece has contact with the board or screen. If you have them drying on a cutting board, gently run your hand over the roots 1-2 times a day, moving them around a bit, so that they get evenly exposed to the air and dry evenly. They will be ready in 3-7 days, depending on the moisture levels in the air. They should be hard and snap easily when they are ready to store. Roots are very resilient in terms of storage and will often last years when stored in airtight glass jars. They’re wonderful for winter syrups, decoctions, broths- you name it- and are a delightful addition to the home apothecary!